


“Discover the Benefits of HostingPanel: Why It’s the Best Choice for Your Windows Server and How to Get Started with the Free Trial”
HostingPanel is a top-rated provider of remote desktop protocol (RDP) hosting services, offering fast and reliable servers for individuals and businesses. Whether you’re looking to set up a Windows server for personal use or for your business, HostingPanel is a great choice.
In this blog post, we’ll take a comprehensive look at why HostingPanel is the best choice for your Windows server, including a guide on how to sign up for their free trial and set up your server.
Why HostingPanel is the Best Choice for Your Windows Server
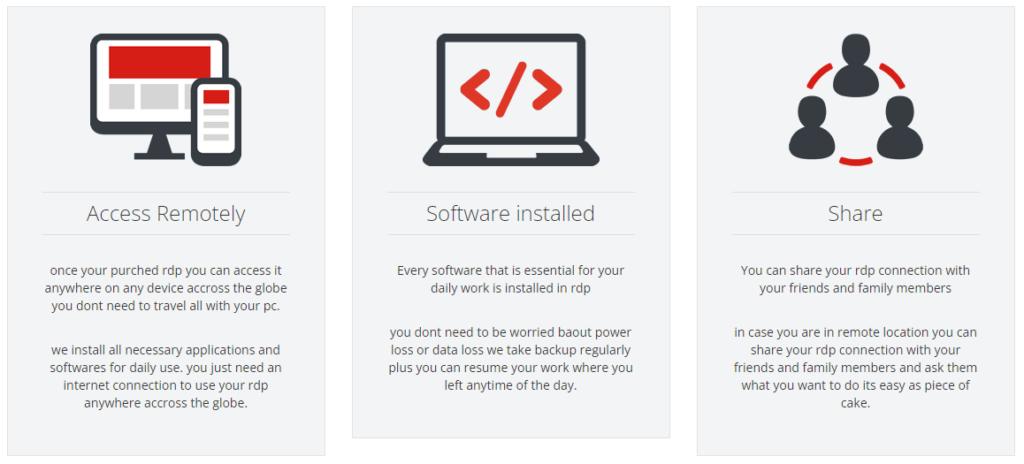
- Reliable and Fast Servers: HostingPanel’s servers are fast and reliable, ensuring that your Windows server will run smoothly and efficiently.
- Easy to Use: HostingPanel’s user-friendly interface makes it easy to set up and manage your Windows server, even if you’re new to RDP hosting.
- Affordable Pricing: HostingPanel offers a range of affordable pricing options, making it accessible to individuals and businesses of all sizes.
- 24/7 Support: HostingPanel provides 24/7 support, so you can get help whenever you need it.
- Advanced Security: HostingPanel takes security seriously, using advanced security measures to protect your Windows server from cyber-attacks.
Step 1: Sign up for the free trial

The first step to getting started with HostingPanel is to sign up for their free trial. This will give you access to their RDP hosting services for a limited time, allowing you to test out their services and see if they’re right for you.
To sign up for the free trial, simply go to the HostingPanel website and fill out the form with your name, email, and password. You’ll then receive an email with instructions on how to get started.
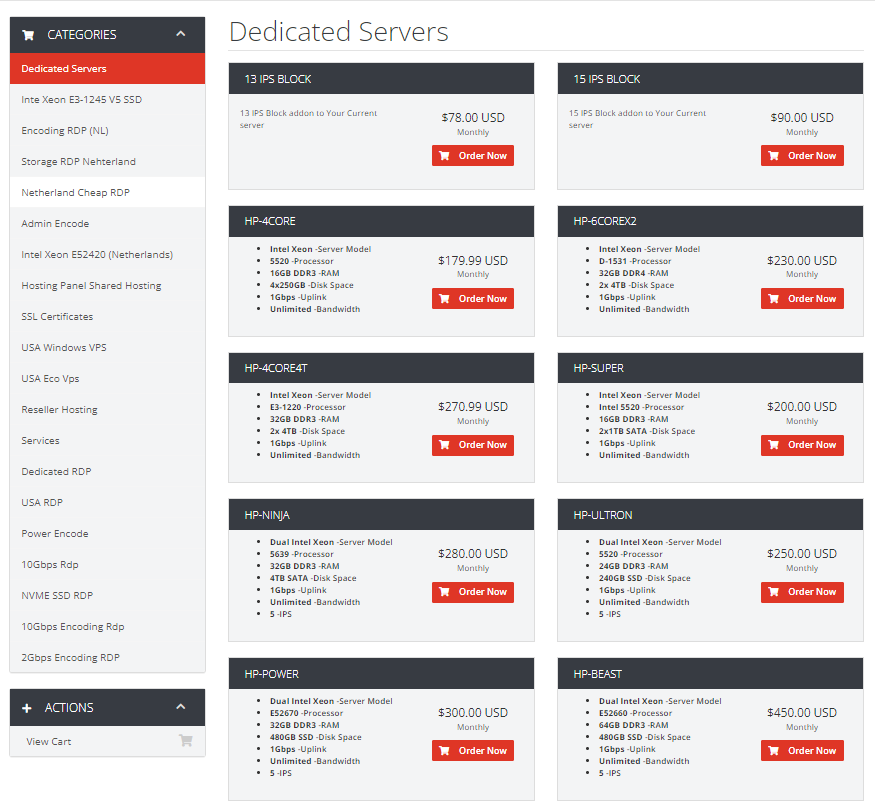
Step 2: Choose a server package
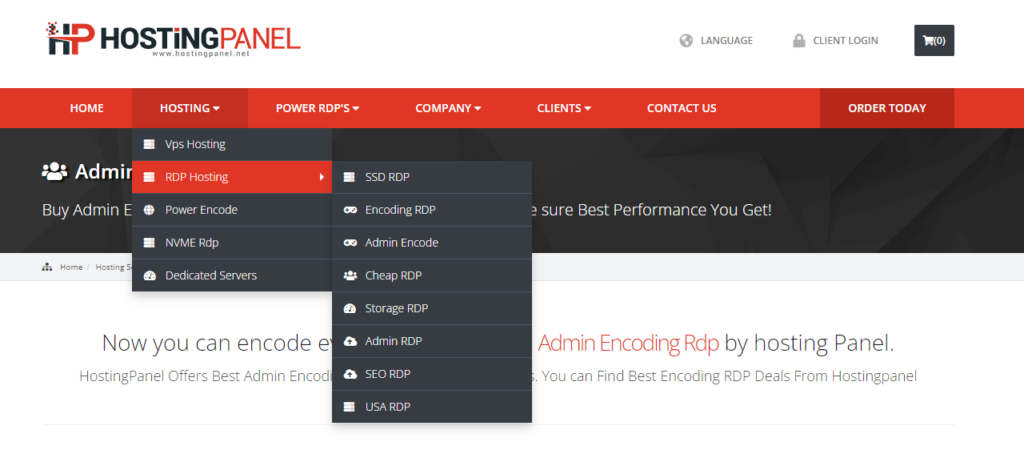
Once you’ve signed up for the free trial, you’ll need to choose the server package that’s right for you. HostingPanel offers a range of different packages, each with its own set of features and resources. Choose the one that best meets your needs.
Step 3: Install the RDP client
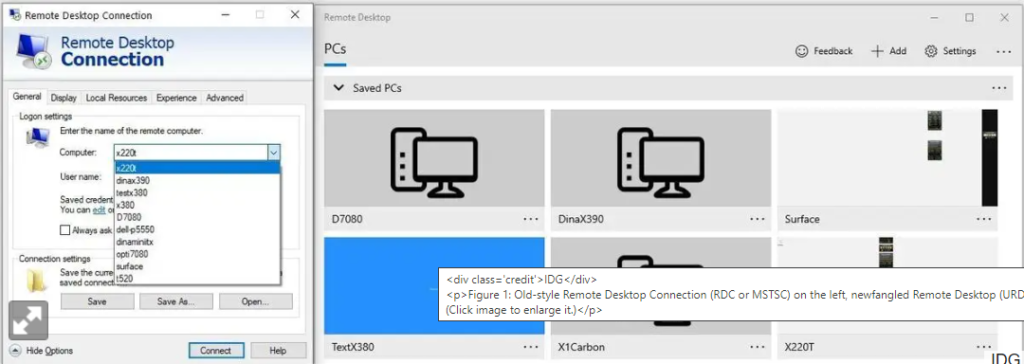
To connect to your RDP server, you’ll need to install the RDP client on your local computer. HostingPanel provides a guide on how to install the client on your computer. Simply follow the instructions to get the RDP client up and running.
Step 4: Connect to the server
Once you’ve installed the RDP client, you’re ready to connect to your RDP server. Open the RDP client and enter the IP address, username, and password that HostingPanel provided when you signed up for the free trial. You should now be connected to your RDP server.
Step 5: Set up your Windows server
Now that you’re connected to your Windows server, you can start setting it up. This will likely involve installing software, configuring settings, and so on. Follow the instructions provided by HostingPanel to get your Windows server up and running.
Step 6: Take advantage of HostingPanel’s features
HostingPanel offers a range of features and resources to help you get the most out of your RDP hosting services. These may include server management tools, backups, and more. Take advantage of these features to ensure that your Windows server is set up and running smoothly.
In conclusion, HostingPanel is a top choice for individuals and businesses looking to set up a Windows server.
