


Google Cloud Platform’s Getting Started Guide Making a Windows Server virtual machine as part of the Google Cloud Platform’s Getting Started Guide Introduction
This tutorial’s objective is to provide a series of procedures for building a Windows Server Virtual Machine (VM) instance on the Google Cloud infrastructure. This guide presupposes that you’ve already created a Google Cloud account. Please first follow these instructions to create a Google Cloud Platform account if you don’t already have one.
The Google Cloud Platform is made up of a variety of services, including storage services like BigTable and compute services like the App Engine, Container Engine, and Compute Engine. In this tutorial, a virtual Windows Server system will be built using the Compute Engine service. This virtual machine (VM) is a demand-driven device. Remote Desktop can be used to log in to the server and do various maintenance and software installation operations while it is running.
Pre-Requisites
You should register a Google Cloud Account before beginning this lesson. To get started, go to the Google Cloud Console website.
This tutorial explains how to set up a Windows Server. The Windows Server Desktop must be accessed with a Windows Remote Desktop (RDP) client. RDP is included in the majority of Windows versions. The Mac version of Remote Desktop is accessible to MaxOSX users through the App Store.
This guide will teach you how to:
1. Open the Google Cloud Console and log in.
2. Launch a fresh instance of the compute engine
3. Set up a fresh Windows Administrator login and password.
4. Terminate the instance of Windows Server.
5. Start a Windows Server instance from scratch
6. Making a Windows Server instance using the google cloud command line
Using the Google Cloud Console to log in
1. Go to cloud.google.com to see the Google Cloud website.
2. Use your Google Account to sign in.
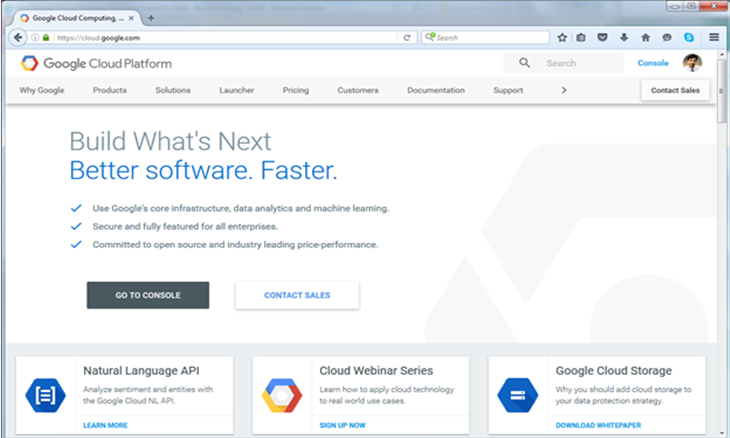
3. In the top right corner, click the Console option.
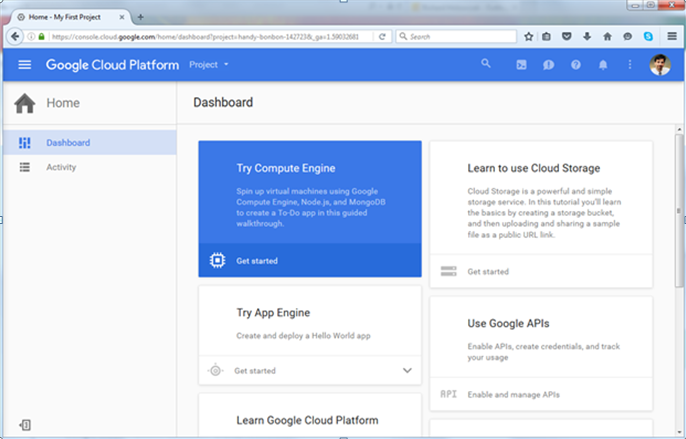
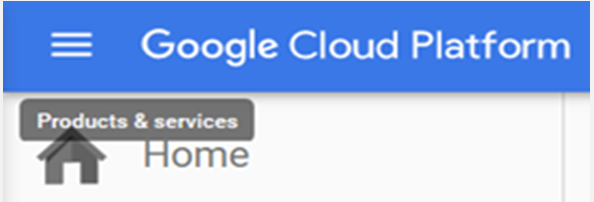
4. In the upper left corner, select the Products and Services icon (three horizontal bars):
5. Items from the Products and Services list will appear:
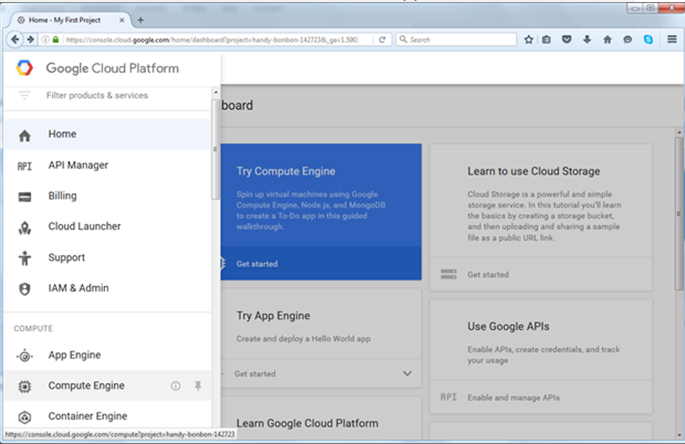
6. Locate the Compute Engine item by scrolling down. A menu will be visible on the left side of the Compute Engine page when it loads:
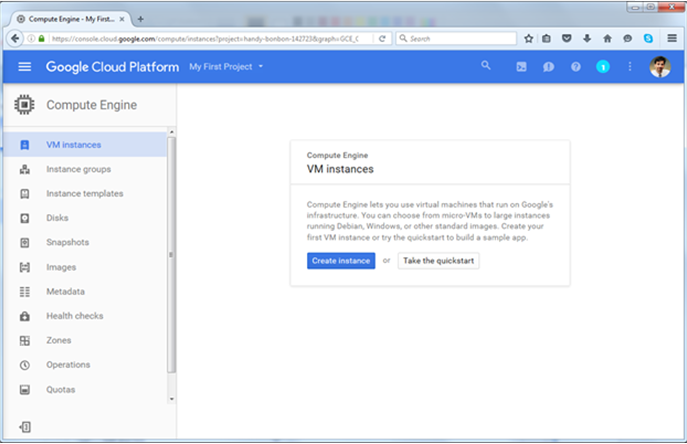
launching a new instance of the compute engine
7. Select the blue “Create Instance” button.
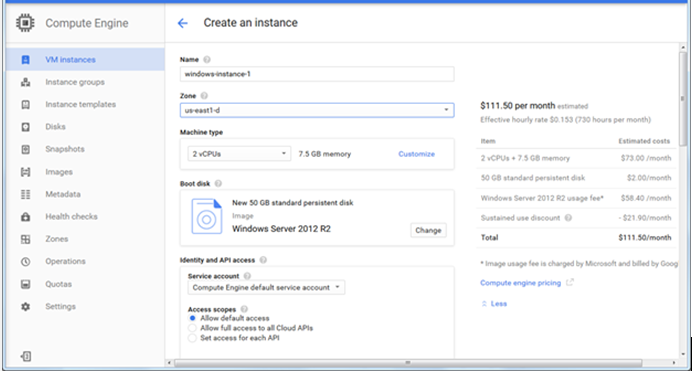
8. Choose a zone and give the new instance a name. Choose one of the US-East Zones, for instance, if your primary place of employment is on the East Coast of the US.
9. A Windows server should have a minimum of 2 CPUs and 8 GB of RAM. Choose 7.5 GB of memory and 2 virtual CPUs (vCPUs) for the machine type.
10. Alternately, choose Windows Server 2012 R2 as the Boot Disk.
11. Permit Identity and API Access to remain set to their default values (Computer Engine default service account and Allow default access). At this point, the choices are displayed below:
12. To view more options, scroll down. Check the boxes next to both Allow HTTP and Allow HTTPS access. Give this new virtual machine server a description.
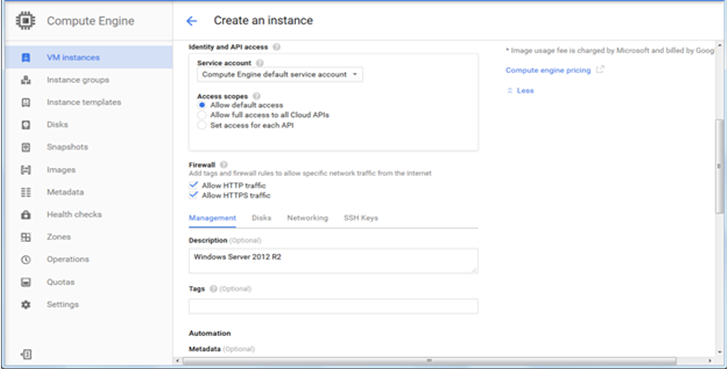
13. Maintain the Availability Policy’s default settings, as displayed below:

14. To create the instance, finally click the blue Create button.
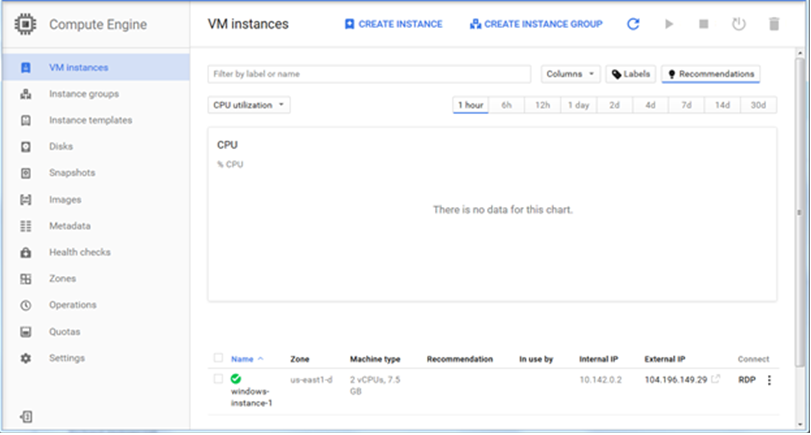
15. A notice stating that the new VM instance is being generated will reappear in the Compute Engine panel.

16. The following details will be filled in once the new VM instance has been created and is operational:
New Administrator Account and Password Creation
A new administrator account and password can be made now that the instance is running so that Remote Desktop can access the server.
17. Just below the green check mark, select the instance name (windows-instance-1 in this example).
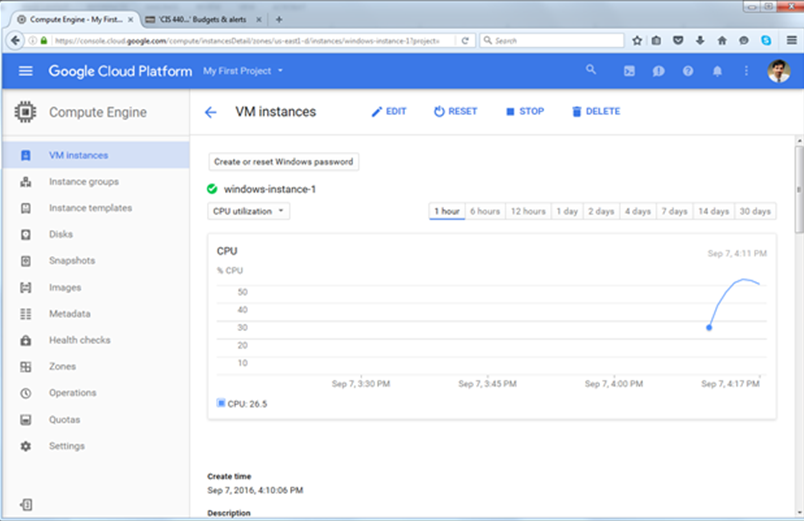
18. To create or reset your Windows password, click the icon located just above the instance name. As seen below, enter a new administrator name, such as WindowsAdmin:
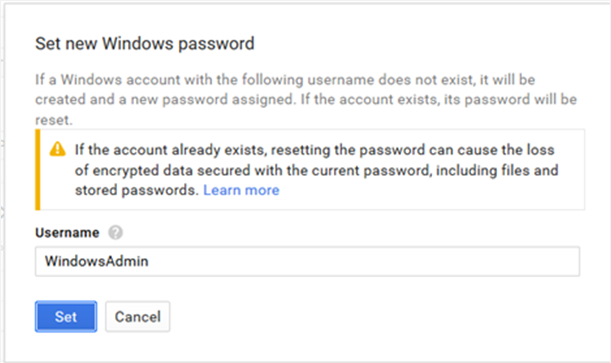
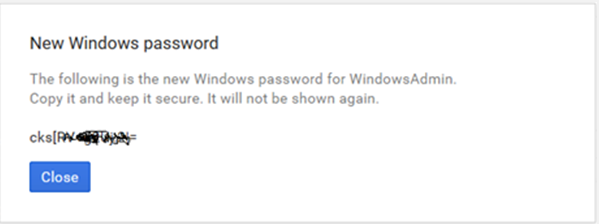
A new password will be generated when you click the blue Set button (write this down).
To re-display, the list of instances, click the VM Instances menu item once more:
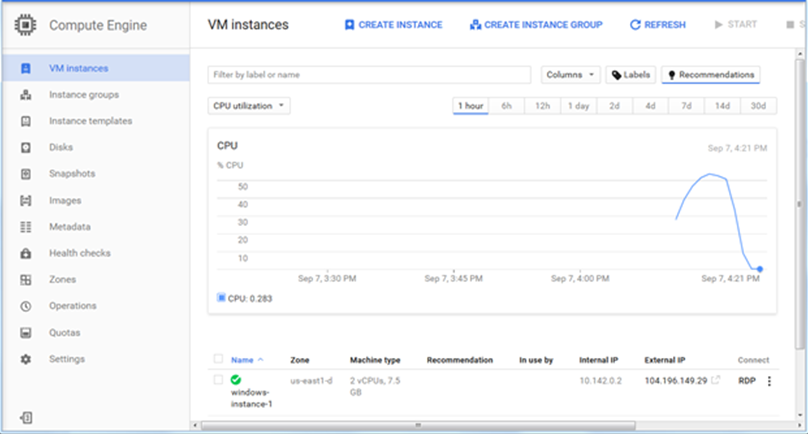
19. To access the remote desktop, click the RDP link under the Connect column on the right-hand side of the new instance. A window with a link to the.rdp file will open.
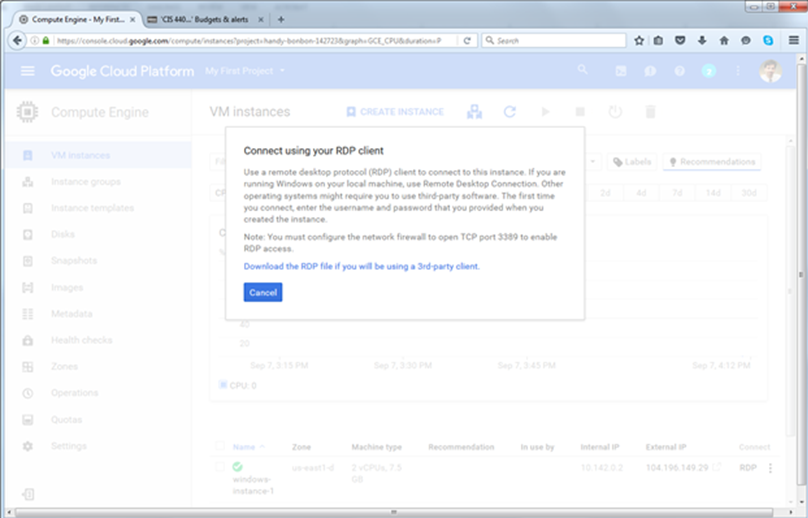
The name of the VM instance should match that of the RDP file. Save the RDP file to your computer’s hard drive.
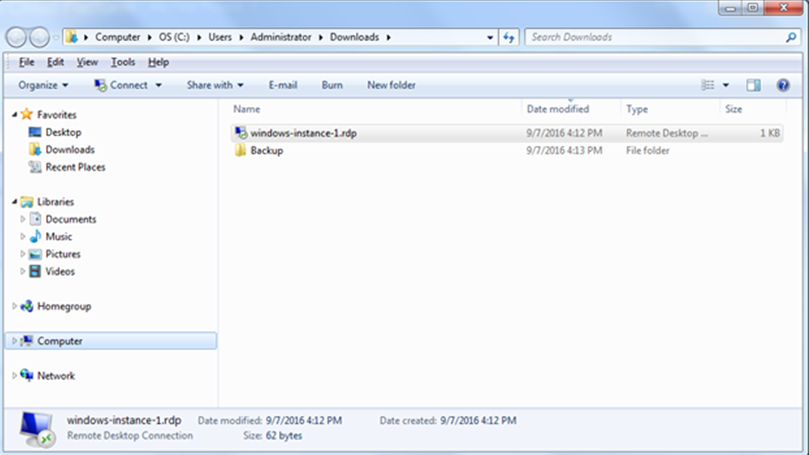
20. Double-click it to launch the remote desktop session in step Select Other accounts after RDP has started, then enter your new administrator username and password as displayed below:
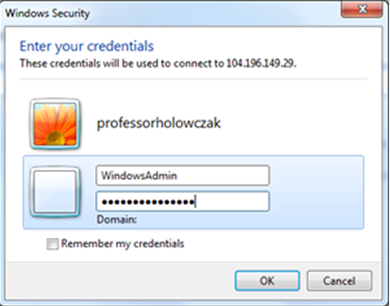
21. To connect, click OK. You might receive the following prompt regarding the remote computer certificate:
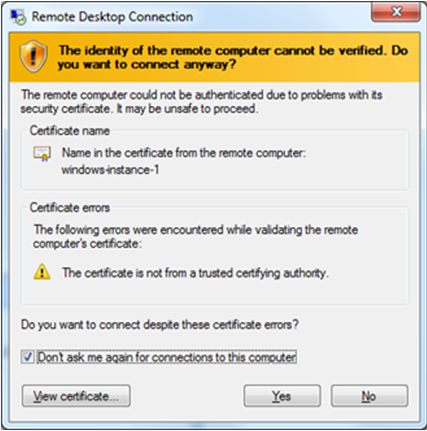
22. To continue, press the Yes button.
23. The Windows Server desktop should now show up at this point.
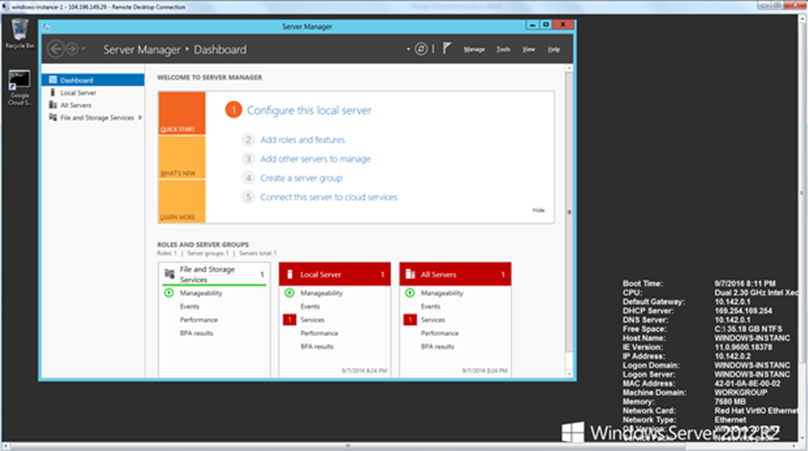
24. The server instance can now be used for all standard Windows Server administration activities. putting an end to instance 25 of Windows Server.
Shutting down the Windows Server instance
25. Click on the Windows Start menu icon in the lower left when you are through using the server and if it is okay to shut it down. then click on the desktop’s upper right power button icon. To shut the server down, use the Shut down menu option.
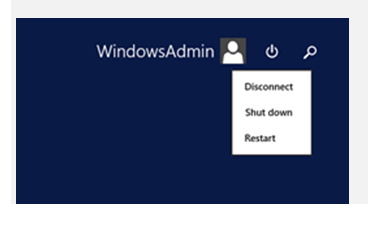
26. Click the Shutdown button after choosing a reason for the shutdown (“Planned” is acceptable). At this time, the Remote Desktop session ought to be over.
27. Verify that the instance has been shut down by running this command.

28. While the instance is not running, the billing account will not be altered for CPU time. The utilization of 50GB of storage will result in a charge to the account (or however much storage is allocated to the VM when set up).
Windows Server instance restarting
Re-login to Google Cloud and go to the Compute Engine interface to restart the instance later. To start an instance, first, check the box next to it with your mouse, then click the Start button (which resembles a play button).
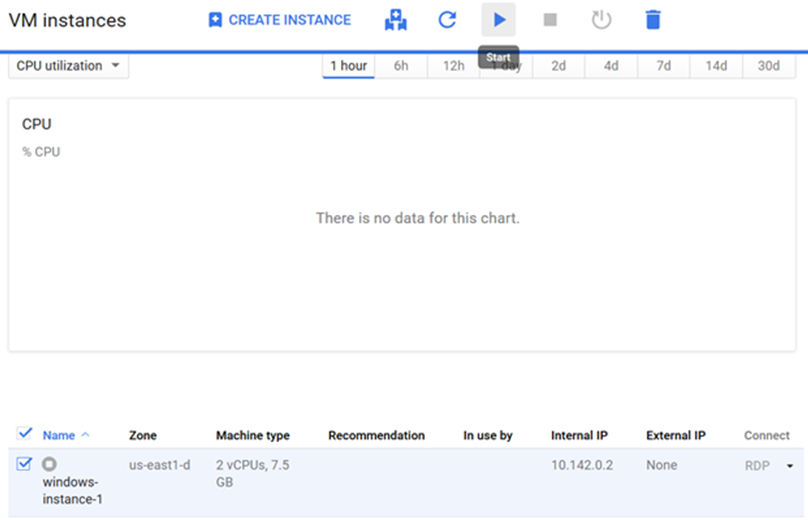
A notice will show as soon as the instance has launched. After that, you can keep using remote desktop to connect to the server instance.

Making a Windows Server instance using the google cloud command line
The majority of the services offered by Google Cloud Platform can be directly created using the command-line interface that is available. By selecting the relevant icon on the Google Cloud Console page, the command line, also known as Google Cloud Shell, can be launched.
The parameters you chose during the prior session are present in this instance of the gcloud command line. You should use the name of your own Google Cloud project in place of the original one.
gcloud compute --project "your-project-name" instances create "windows-instance-1" \
--description "Windows Server 2012 R2" --zone "us-east1-d" --machine-type "n1-standard-2" \
--subnet "default" --maintenance-policy "MIGRATE" --scopes default="https://www.googleapis.com/auth/devstorage.read_only", \ "https://www.googleapis.com/auth/logging.write","https://www.googleapis.com/auth/monitoring.write", \ "https://www.googleapis.com/auth/servicecontrol","https://www.googleapis.com/auth/service.management.readonly" \
--tags "http-server","https-server" --image "/windows-cloud/windows-server-2012-r2-dc-v20160809" \
--boot-disk-size "50" --boot-disk-type "pd-standard" --boot-disk-device-name "windows-instance-1"

gcloud compute --project "your-project-name" firewall-rules create "default-allow-http" --allow tcp:80 --network "default" --source-ranges "0.0.0.0/0" --target-tags "http-server"

gcloud compute --project "your-project-name" firewall-rules create "default-allow-https" --allow tcp:443 --network "default" --source-ranges "0.0.0.0/0" --target-tags "https-server"
